The Frustration of Pole Vector Pop: Understanding Maya's IK Nuances
For anyone who's delved into the world of 3D character rigging in Maya, the term "pole vector" often brings a mix of appreciation and exasperation. Pole vectors are indispensable controls for Inverse Kinematics (IK) chains, providing animators with precise directional control over intermediate joints like knees and elbows. Without them, an IK leg or arm can often bend in unpredictable, sometimes even reverse, directions, leading to unnatural poses.
However, many riggers, especially those starting their journey, frequently encounter a common and annoying issue: the dreaded "joint pop." You meticulously set up your IK handle, create a pole vector control, and the moment you apply the constraint, your knee or ankle suddenly snaps to an odd angle. This seemingly minor glitch can disrupt your workflow, forcing tedious manual adjustments or worse, compromising the integrity of your rig. While a quick fix like unparenting and reparenting joints might seem to suffice for simple poses, a robust rig demands a more fundamental solution. This article dives deep into the causes of pole vector popping and offers actionable tips to prevent it, ensuring your character rigs are stable and animator-friendly.
Laying the Foundation: Ensuring a Planar Leg Setup
The root cause of most pole vector popping issues lies not with the pole vector control itself, but with the foundational setup of your joint chain. A perfectly "planar" leg (or arm) is the bedrock of a stable IK system. What does planar mean in this context? It means your joints, particularly the hip, knee, and ankle, form a flat plane, perfectly aligned along a primary axis. Any deviation from this can introduce unexpected twists and pops when an IK solver tries to resolve the chain.
Initial Joint Placement and Translation Values
Before even thinking about IK handles or pole vectors, pay close attention to your joint hierarchy. For a standard biped leg, assuming 'X' is your primary axis pointing down the length of the bone:
- Knee and Ankle Joint Translations: After creating your hip joint, when you place your knee and ankle joints, ensure they have zero values for
Translate YandTranslate Z(or whichever axes are perpendicular to your primary bone axis). If your knee is slightly off-center in the Y or Z axis relative to the hip and ankle, it breaks the planar alignment. This is a common oversight that leads to future headaches. Freeze transformations on your joints only after they are perfectly aligned.
Precise Joint Orientations and Preferred Angles
Joint orientations are critical. They define the local coordinate system for each joint and dictate how rotation values are interpreted. Incorrect orientations are a frequent culprit for unpredictable IK behavior.
- Knee Joint Orientation: Your knee joint should ideally only have
Joint Orientvalues on one axis (e.g., the Y-axis if your X-axis points down the bone and Z-axis points forward). The other two axes should be zero. This ensures the knee bends cleanly along a single axis. You can inspect and adjust these values in the Attribute Editor under the "Joint" section. - Preferred Angle Setup: Every joint in an IK chain has a "preferred angle" – the direction it naturally wants to bend. For a leg, the knee should have a slight forward bend. This preferred angle should align with the same axis that has your
Joint Orientvalues. Setting a slight preferred angle (e.g., -5 or -10 degrees on the relevant axis) tells the IK solver which way the knee should "prefer" to bend, greatly reducing the chances of it flipping or popping unexpectedly. Ensure this is set before creating your IK handle.
By meticulously verifying these foundational aspects, you ensure your leg is truly planar and ready for a stable IK setup. For more detailed guidance on this crucial step, refer to our comprehensive article: Maya Pole Vector Setup: Ensure Planar Legs for Smooth IK.
Crafting Your Pole Vector Control for Precision
Once your joint chain is planar and correctly oriented, the next step is to create and position your pole vector control. This control object, typically a simple curve, dictates the direction of the knee or elbow. Its placement and setup are just as important as the joint chain itself.
The Crucial Role of Grouping and Matching Transforms
Don't just create a control curve and use it directly. The context highlights a critical step:
- Group Your Pole Vector Control: Always group your pole vector control. This group acts as a buffer and allows for precise initial positioning without directly affecting the control's local pivot. It's good practice to create a hierarchy like
PV_Control_GRP > PV_Control. - Match Transform to the Hinge Joint: Select the group (e.g.,
PV_Control_GRP) and then the hinge joint (e.g., the knee joint). Use Maya'sMatch Transformfeature (often found under Modify > Match Transformations or accessible via scripting) to match the position and orientation of the group to the knee joint. This places the group's pivot exactly at the knee's pivot.
This step is vital because it aligns the pole vector control's reference point perfectly with the joint it influences. If the group's pivot is misaligned, any subsequent movement will be based on an incorrect origin, leading to twists.
Moving the Control in Object/Local Space
With the group now precisely positioned at the knee:
- Move Away from the Knee: Select the pole vector control (not its group) and move it away from the knee joint along the desired axis (typically forward for a leg). The crucial part here is to set your move tool to Object or Local Space. This ensures that you are moving the control directly along its own local axes, which are now perfectly aligned with the knee's orientation thanks to the previous
Match Transformstep. - Preventing Twisting: If your knee joint has a slight outward or inward twist, and your pole vector control is simply moved directly forward in world space, the IK handle will try to force the leg to twist to align with the pole vector. By moving the control in object/local space, you maintain the planar integrity, preventing these unwanted twists. The pole vector will then accurately dictate the knee's bend direction without introducing rotational errors.
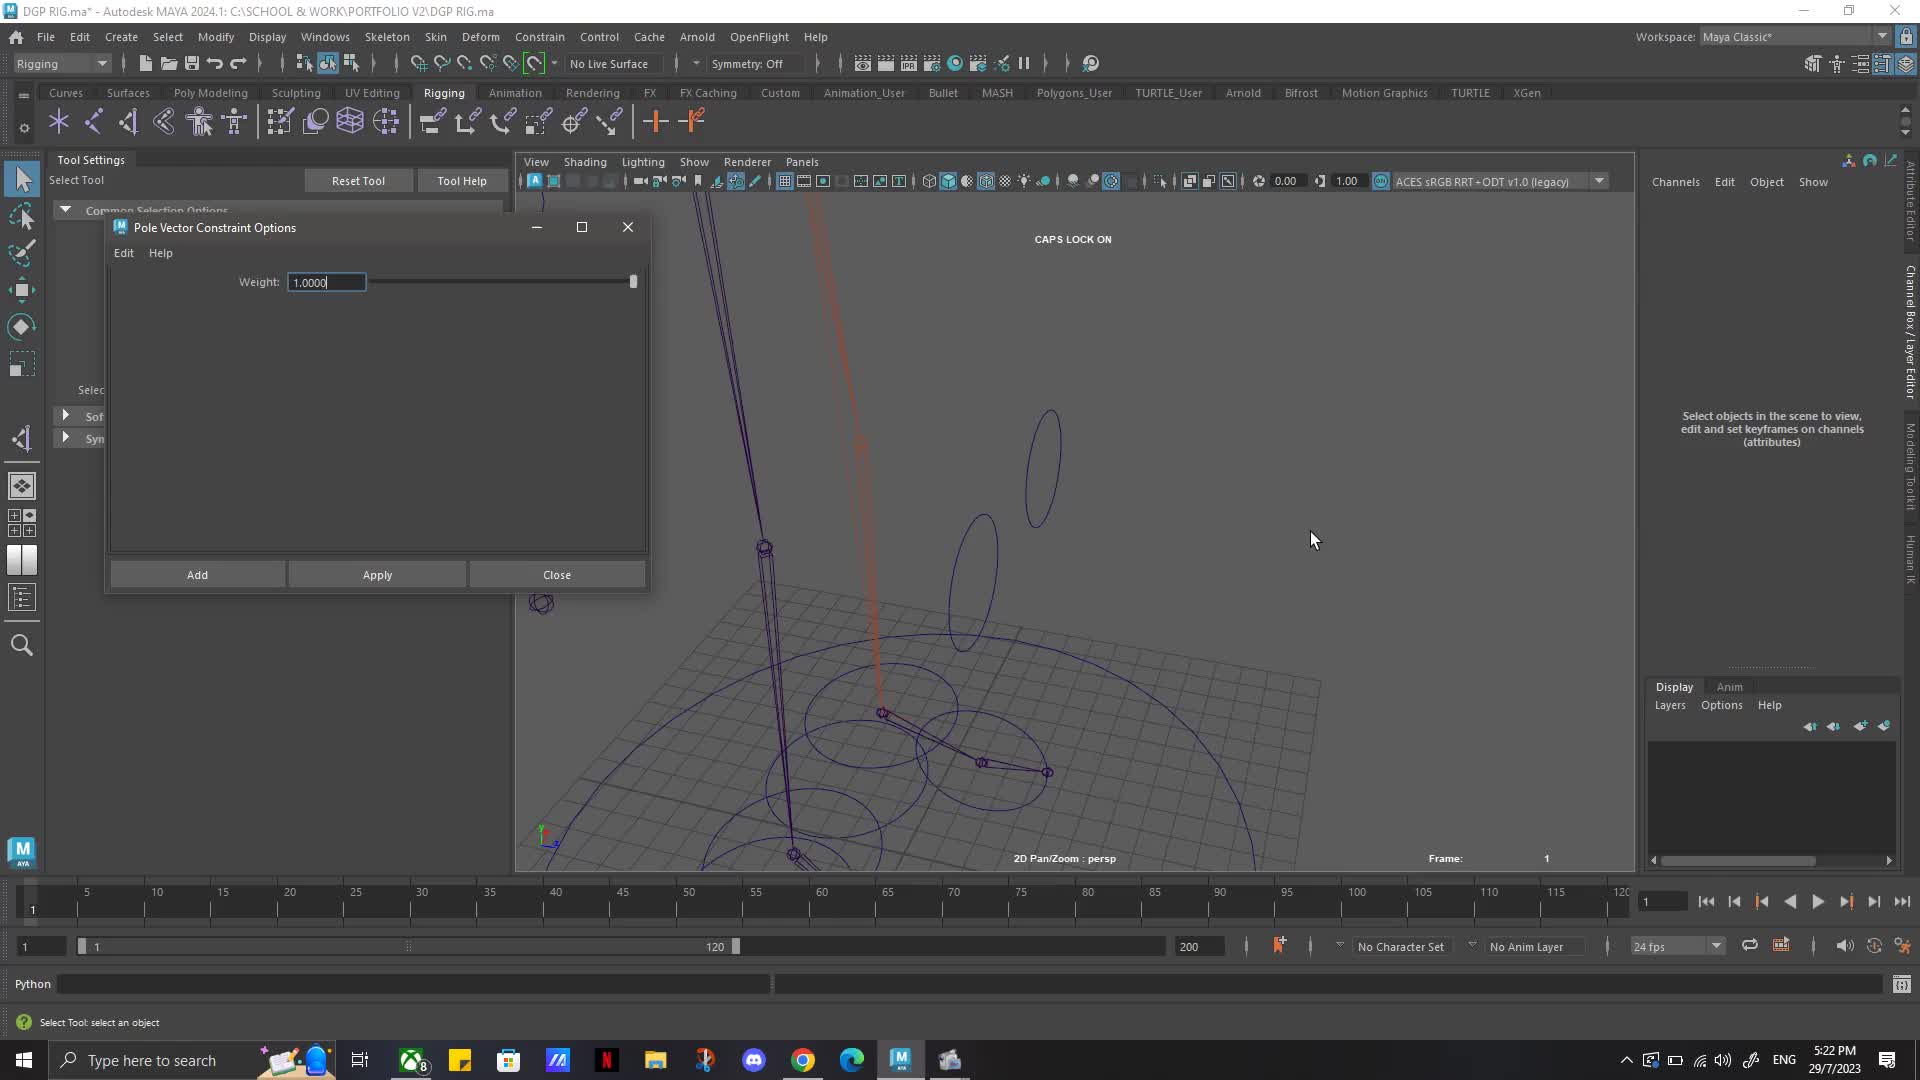
The Constraint and Beyond: Finalizing Your IK Chain
Once your joint chain is planar and your pole vector control is meticulously placed, applying the pole vector constraint should be a smooth process, free from unexpected joint pops.
Applying the Pole Vector Constraint
The final step is straightforward:
- Select your pole vector control.
- Select your IK handle.
- Go to Constrain > Pole Vector.
If all previous steps – planar joint setup, correct orientations, preferred angles, and precise pole vector control placement – have been followed, your leg should remain perfectly in place. You should now be able to move your IK handle and your pole vector control, and the knee will articulate cleanly and predictably.
Troubleshooting and Advanced Tips
- Check for Cycle Warnings: Sometimes, complex rigs can inadvertently create dependency cycles. Maya will warn you about these. Address them immediately, as they can lead to unpredictable behavior, including popping.
- Visibility and Locking: Once set up, consider locking and hiding unnecessary translation/rotation attributes on your joints that are controlled by IK or pole vectors. This prevents accidental manipulation by animators.
- Testing Thoroughly: Always test your rig extensively. Push the IK handle to extreme poses, move the pole vector control around, and ensure there are no flips, pops, or unexpected twists.
- Understanding Alternatives: While pole vectors are standard, some advanced rigging techniques use different methods for knee/elbow control, such as volume-preserving solutions or twist rigs. However, for most character setups, the pole vector method remains the most common and efficient.
For more detailed troubleshooting and a step-by-step guide to resolving these common rigging annoyances, check out our dedicated article: Stop Maya Pole Vector Joint Popping: A Rigging Guide.
Conclusion: Mastering Pole Vectors for Smoother Animation
Preventing pole vector annoyances in Maya rigging boils down to a meticulous approach to foundational principles. It's not about complex solutions but rather about precision in joint placement, careful attention to joint orientations and preferred angles, and a calculated setup of your pole vector controls. By ensuring your leg is planar, aligning your pole vector control's group to the knee, and moving the control in its local space, you can largely eliminate the frustrating joint pop. A stable and predictable IK system is a hallmark of a professional rig, empowering animators to focus on performance rather than fighting with unexpected character deformations. Invest the time upfront to get these details right, and you'll be rewarded with a much smoother rigging and animation workflow.